Probiotic Sauerkraut! Yes, sauerkraut is a probiotic pickle. To date, it’s the easiest probiotic pickle I have ever made and it’s actually the ferment I have done the most. It’s inexpensive, easy to make, absurdly healthy, and, personally, I think it’s delicious.
Let’s start with the full recipe. A more in depth sauerkraut guide, complete with sauerkraut history and accolades, can be found below.

Probiotic Sauerkraut
Equipment
- Fermenting Vessel
- Cabbage Crusher
Ingredients
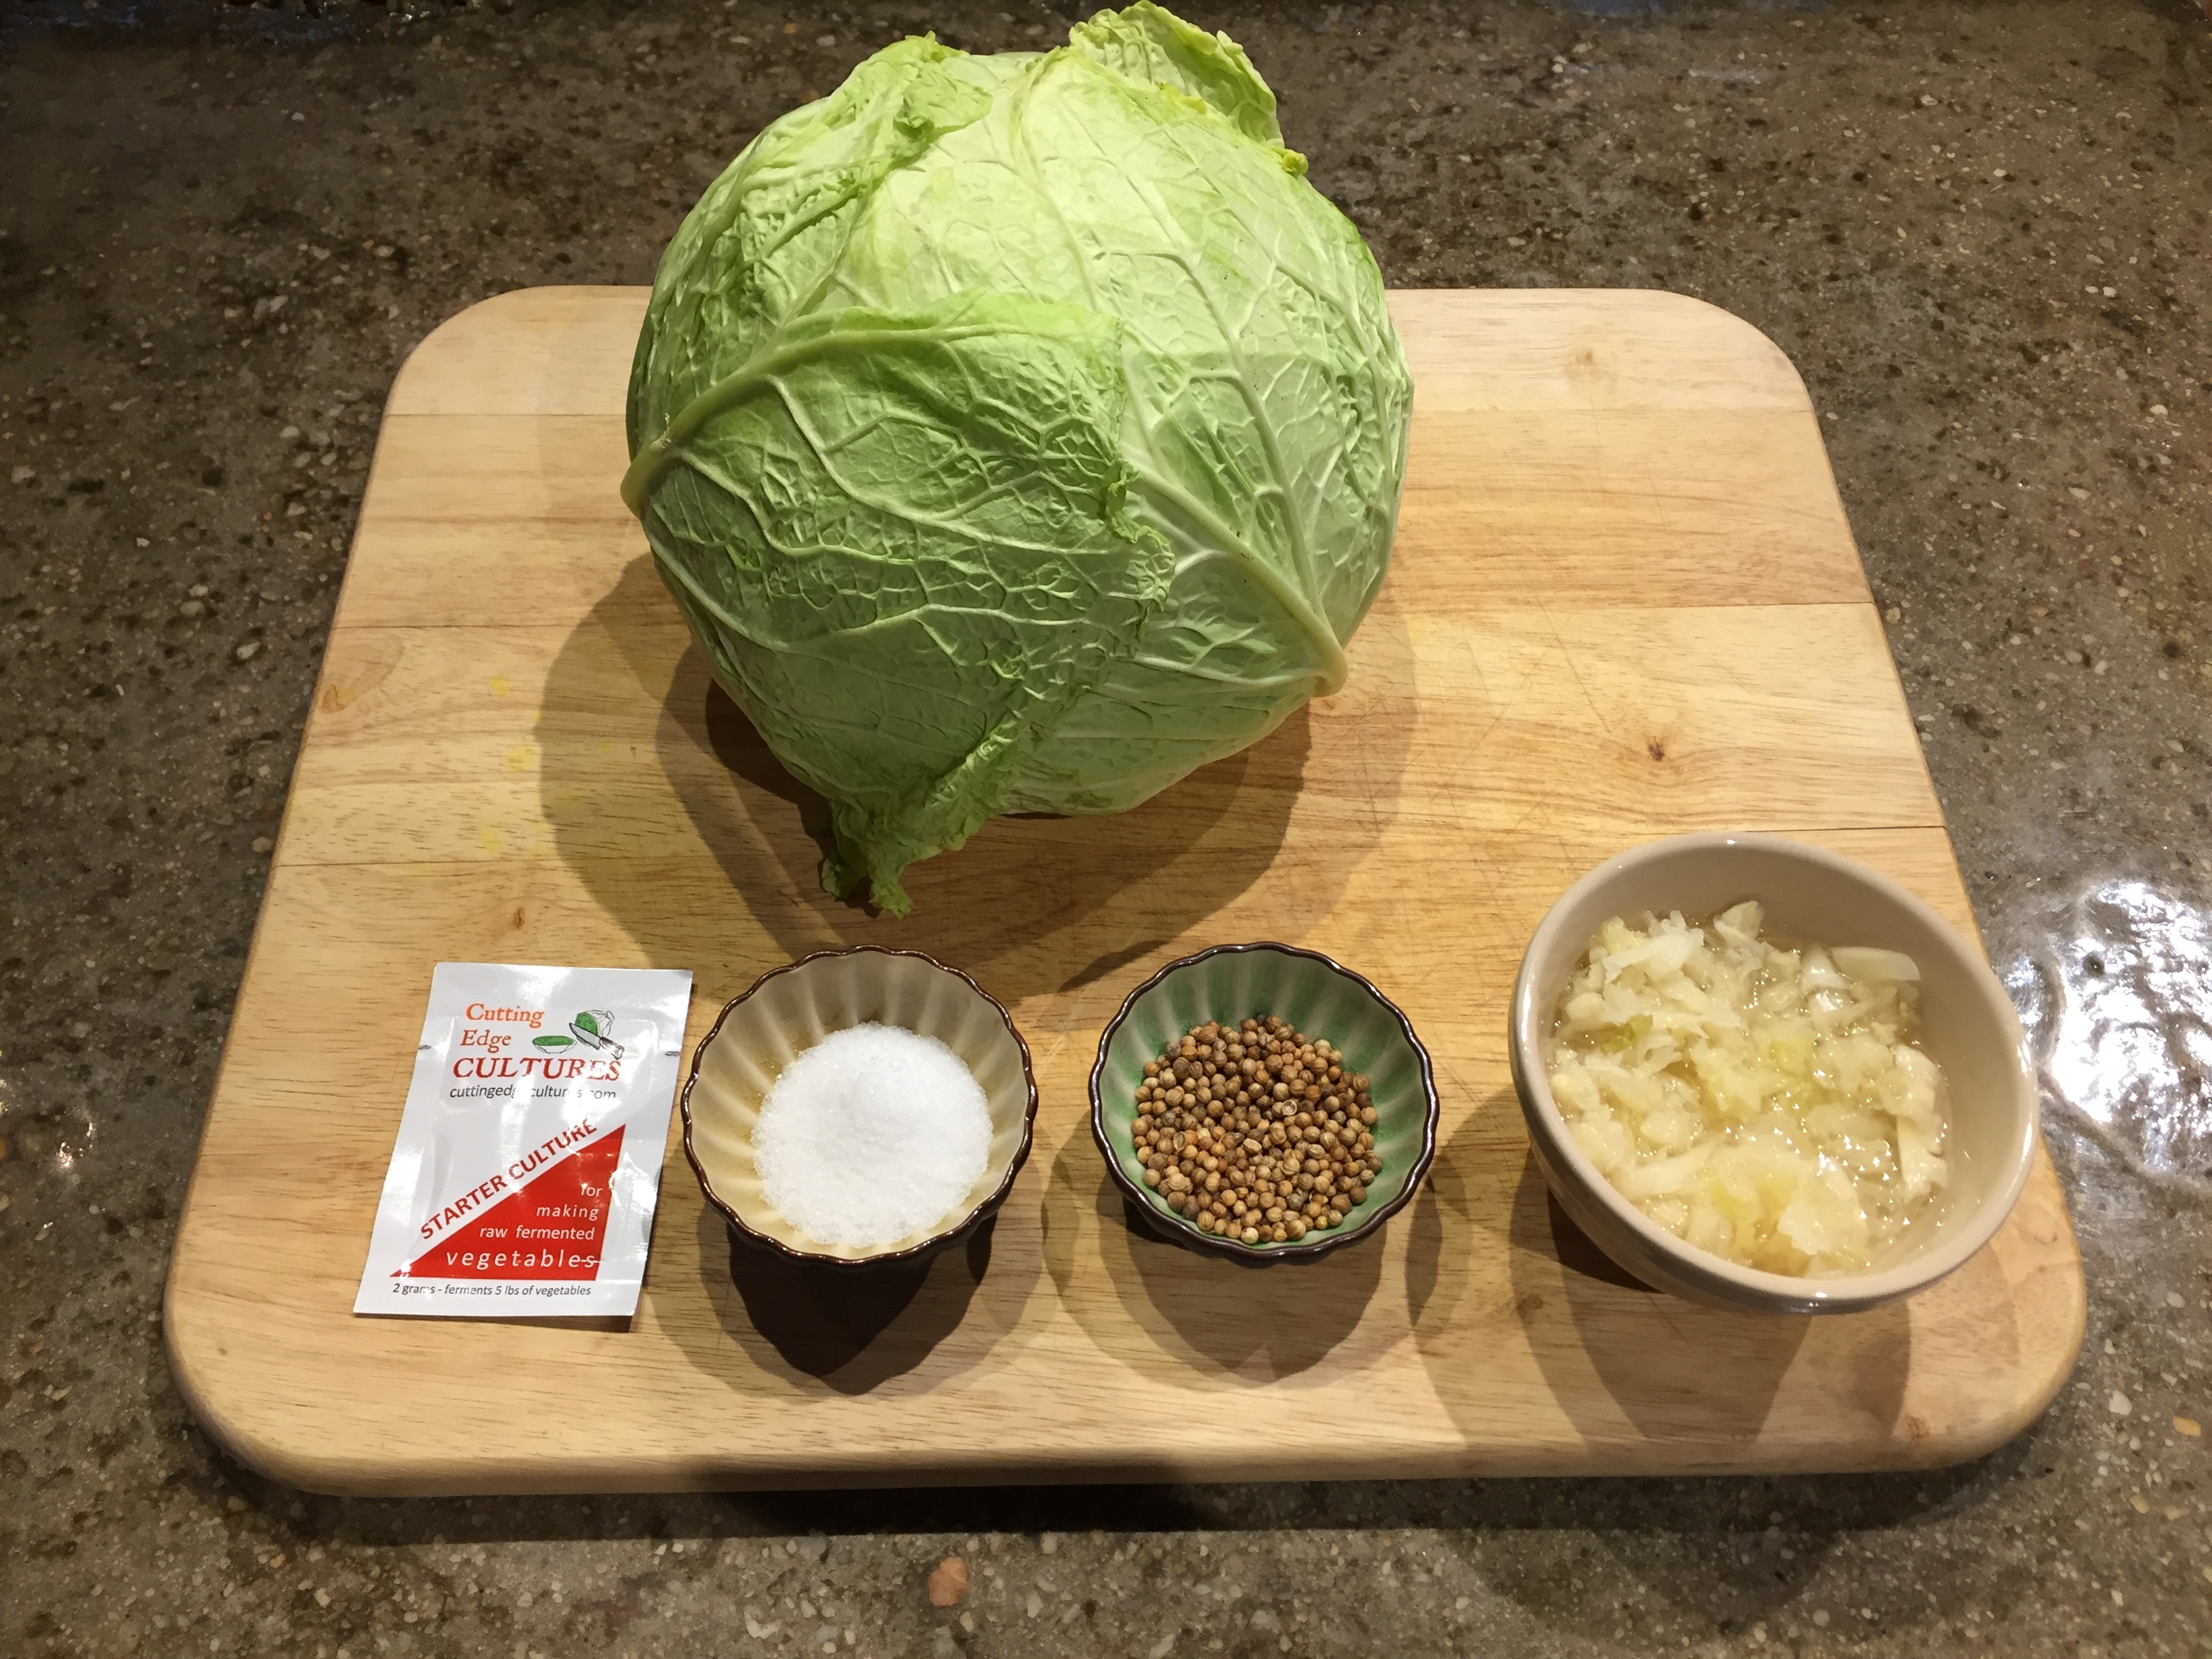
- 1 Head Cabbage
- 3 tsp Salt
- 1/4 Cup Salt For soaking the cabbage
- 1 tsp Preferred Spices See the section below on additional spices.
- 1 Gallon Water For soaking the cabbage.
- 2 tbsp Live Sauerkraut You can also use a starter culture. You can omit both and the natural bacteria should take over. However, this could increase the possibility of a spoiled batch.
Instructions
- Chop the cabbage.

- Salt and soak the cabbage in enough water to cover it. You can skip this step, but the salting and soaking process will create a crispier sauerkraut.

- Rinse and drain the cabbage.
- Add live sauerkraut or starter culture to the cabbage in a sturdy container. A large stainless steel mixing bowl or pot works well.
- Add the 3 tsp salt to the cabbage and pound it with a cabbage crusher. See detailed instructions below.

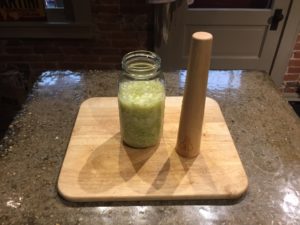
- Pack the crushed cabbage into a fermentation container. Use a cabbage crusher to tamp the cabbage, trying to remove all air bubbles from the container. Be sure to add all of the liquid created when crushing the cabbage.

- If you can't cover the cabbage in enough of its own liquid, you can add salt brine to the fermenter. Mix the brine at a ratio of 1 tsp salt per cup of water.
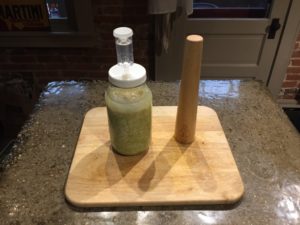
- Add fermentation weights to the fermenter to keep the cabbage submerged in the brine.
- Ferment at about 70 degrees for 7-10 days. Don't allow the sauerkraut to go above 76 degrees, higher temperatures increases the risk of bad bacteria spoiling the batch. Taste. Ferment longer if desired. Move to a cooler location (basement) and ferment up to 3 months. Be sure to keep the airlock filled with water as necessary.

- When you are happy with the fermented flavor, seal the container and store in a cool place or the refrigerator for up to 8 months. You can read about the shelf life of fermented vegetables in more detail in my probiotic fermentation guide.
Notes
-Juniper Berries
-Apples (Or, make it apple spice sauerkraut with Ginger, Cinnamon, and cloves)
-Carrots (With or without Ginger)
-If you really want to experiment, I have heard of folks adding onions, garlic, -turnips, beets, and even seaweed (Kimchi is basically fancy Sauerkraut).
Sauerkraut Fermenters
Here is a sample list of sauerkraut fermeters from Amazon. I now prefer the very large mouth gallon jars for fermenting sauerkraut. Wide mouth ball jars, half gallon, which are pictured in this recipe can also be used. The larger gallon jars are just easier to work with and a batch that size is worth the effort. Sometimes beer, wine, and other fermenters show up in the lists. You obviously don’t want to try and stuff cabbage through a 1 inch hole! Sauerkraut crocks are also available. To be honest, after using them a few times, I am not a fan. I have a beautiful custom made crock and I feel bad that I don’t like using it. You need to keep the airlock lid filled with water and I am prone to forget. Also, you need to open the lid to see what’s going on! Introducing oxygen and potential contaminates is something you want to avoid. My recommendation is to stick with glass at first.
And, Germans know a little something about Sauerkraut and Beer!

Sauerkraut History
I am far from the world’s leading expert on fermented cabbage. However, like most fermented foods, sauerkraut’s origins are thousands of years old. How many foods do you eat regularly that have been eaten, in their entirety, for thousands of years? Wikipedia tells us that the Roman writers Cato and Columella mentioned preserving cabbages with salt. My recent post on kimchi is basically an example of fancy kraut, all doctored up with amazing spices and regional flavors. Fermented cabbage has been eaten all around the world for a very long time. For good reason too, it has some very amazing properties including a long shelf life and a long list of proven health benefits.
Probiotic Sauerkraut Health Benefits
Like many live cultured foods, Sauerkraut is loaded with vitamins and minerals. It can be said that probiotic sauerkraut is healthier than cabbage! The fermentation process actually creates more vitamins, like vitamin B12! You know, B vitamin is a great cure for hangovers. I wonder if that Pennsylvania Dutch tradition of sauerkraut on New Years Day is an elaborate hangover cure? Did you know that the fermentation process also makes the vitamins and minerals in cabbage more readily available to your body? The bioavailability of vitamins B, C, and K as well as dietary fiber, folate, iron, potassium, copper and manganese is improved during fermentation.
Live Food
If unpasteurized and uncooked, like most live cultured foods, probiotic sauerkraut helps to improve digestion and your digestive system in general. Many of the healthy and beneficial aspects of probiotic sauerkraut and pickled foods require that the food remain raw. If you want to eat live sauerkraut warm or hot, you can heat it, just don’t make it too hot. Basically stay below 120 degrees (luke warm). The culture may not die until about 145 degrees, but I don’t like to go that high because you are losing good bacteria after 120 degrees (Starbucks makes their coffee at 140 degrees). Logarithms are involved in measuring the temperature at which a bacterial colony officially dies. I haven’t done any calculus for ages and I am not a microbioloist! Just eat it warm! I have never seen a jar of live sauerkraut for sale in a grocery store. Now, I really haven’t been snooping around Whole Foods and Trader Joe’s trying to locate any. If your kraut and pickles come in a jar or can from the shelf, they are not alive. Perform a taste test, you won’t go back!
Probiotic Sauerkraut In The Root Cellar
When you eat live pickles, don’t can or cook them. Canning and cooking kills the culture, reducing the benefits and even changing the flavor profile. When you are done fermenting, simply seal the jar and put it in the fridge. Jars of live cultured foods can last for months. Some hearty ferments, like simple probiotic sauerkraut, can basically stick around in the fridge indefinitely. Many fermented foods, including probiotic sauerkraut, don’t even need to be refrigerated. They can live in the root cellar for many months. With a cool temperature, high acid content, and an oxygen free container, fermented foods will keep you fed and healthy for a long time. If you are concerned about spoilage, use your senses. Sight, does it look spoiled? Smell, is it different than when you first fermented it? Taste, is it “off?” If you answered no, it’s still good!
For more in-depth reading, check out the Probiotic Wikipedia article.
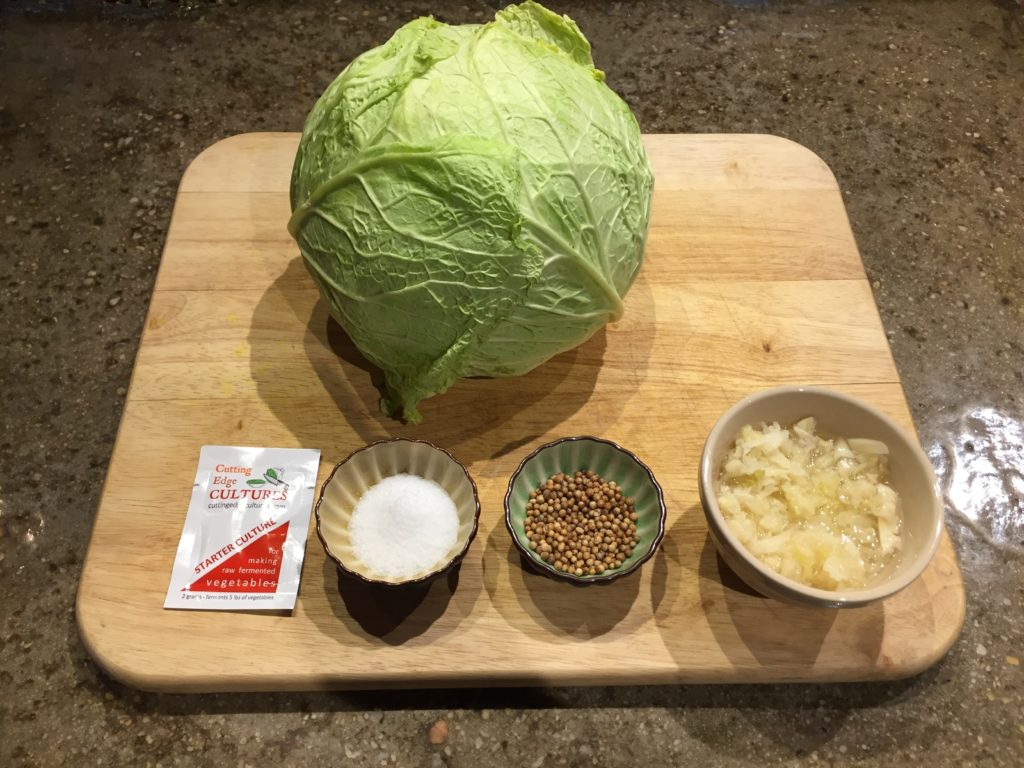
Probiotic Sauerkraut Recipe
Ingredients
- 1 Head of Cabbage
- 2-3 teaspoons of salt
- 1/4 – 1/2 cups of salt (For soaking the cabbage)
Yes! It can be that simple. One of the first ferments I ever made was spot on and delicious! I used a simple list of 2 ingredients, cabbage and salt, to make sauerkraut!
If you want to get fancy and experiment, here are some added ingredients that can make a delicious sauerkraut recipe:
- Caraway Seeds
- Juniper Berries
- Apples (Or, make it apple spice sauerkraut with Ginger, Cinnamon, and cloves)
- Carrots (With or without Ginger)
- If you really want to experiment, I have heard of folks adding onions, garlic, turnips, beets, and even seaweed.
- Starter Culture
- A cup of your last batch of sauerkraut, still alive
If using a live starter culture or some live fermented left overs from a previous batch of probiotic sauerkraut, the salt content that ultimately ends up in the probiotic sauerkraut recipe can be lowered. I have also found that salt content can be reduced if fermenting in cooler temperatures. If fermenting at room temperature, which is optimal, 68-72 degrees, a 2% brine solution is important. A 2% brine is achieved by mixing 4 teaspoons of salt with 5 pounds of cabbage. Most heads of cabbage are much smaller than 5 pounds, hence the 2-3 teaspoons. If you are making brine for other pickling adventures, another good ratio to remember is 3.5 teaspoons of salt per Quart (4 cups) of water.
Probiotic Sauerkraut: How To Guide
Chopping the Cabbage

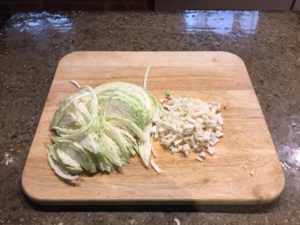
Obviously we aren’t fermenting an entire head of cabbage. We need to chop it up. Shredding the cabbage is probably the best term to use. I am using a nice big knife. I have heard of old cabbage shredders that you can find at sales and auctions. Basically a cabbage shredder is like a huge mandolin or cheese grater that you can slide the cabbage across to make uniform shredded pieces. If you have one of these, awesome! I don’t. So, I expect that you know how to use it! Please don’t hurt yourself.
Removing the core

As the caption of the image states, you want to remove the core.
Tip: Dice the core up into fine pieces and add it to your batch for some enhanced flavor.

Shred the Cabbage

It should be quite clear what is happening here. If you are struggling with chopping your cabbage, this may be the wrong article for you.

Prepare the Cabbage for Fermenting
Soak the Cabbage
Soaking the cabbage for an hour or two can help create a crispier finished product. When making kimchi, you actually soak the napa cabbage in a 10%-15% brine over night, or even longer. Soaking vegetables in a salt brine will change various aspects of the vegetable. The water content and even the flavor can change based upon the amount of salt and the amount of time you soak it in the brine. Please experiment. You can do what I do and you will get my preferred textures and flavors. Fermenting may quite literately be science, specifically microbiology, but it is also art! Delicious art!

Whether or not you soak the cabbage, when done chopping, rinse the cabbage in filtered water if possible (Rinse off salt used for soaking). Tap water is ok, but chlorine slows down the bacteria and if it’s too highly concentrated, it can actually cause a bad batch.
Crush, Squeeze, Pound, Mash and Generally Attack the Cabbage!

There are a few reasons you are getting violent with your cabbage. If the cabbage is left fresh and whole, it is very difficult to create an anaerobic environment in traditional fermenting crocks. I don’t use traditional crocks though, I use air locked fermenters! The cabbage still needs to be covered in liquid without any air pockets. Stomping the cabbage softens it as you pound so you can cram it into a jar without spaces between the cabbage. You are also creating liquid, from within the cabbage, in which you ferment.
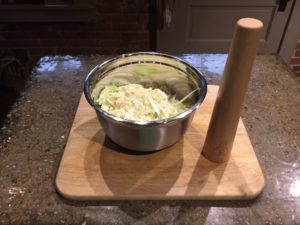
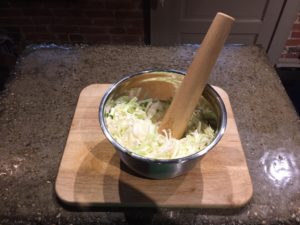
Historically, this crushing was done in a sturdy vessel with a wooden cabbage crusher tool. Because I use glass fermenters, I can’t get violent in the jar. Crush the cabbage in a sturdy container and then move it to the jar for a more gentle tamping. I am sure there are plenty of traditional reasons this is done. Prior to an understanding of microbiology, this process probably helped to propagate the good bacteria in the batch, improving fermentation results. In any case, most recipes call for this step.
Cabbage Crusher
The best search on Amazon to return a variety of cabbage crushers was Sauerkraut Pounder. AKA, Tart Tamper, Pickle Packer, Cabbage Stomper, etc. Seriously, click the link and see for yourself!
If you are in search of a Cabbage Crusher, I have done all the legwork for you by describing how A Cabbage Crusher Goes By Many Names and by simply describing and making recommendations for Cabbage Crusher Options
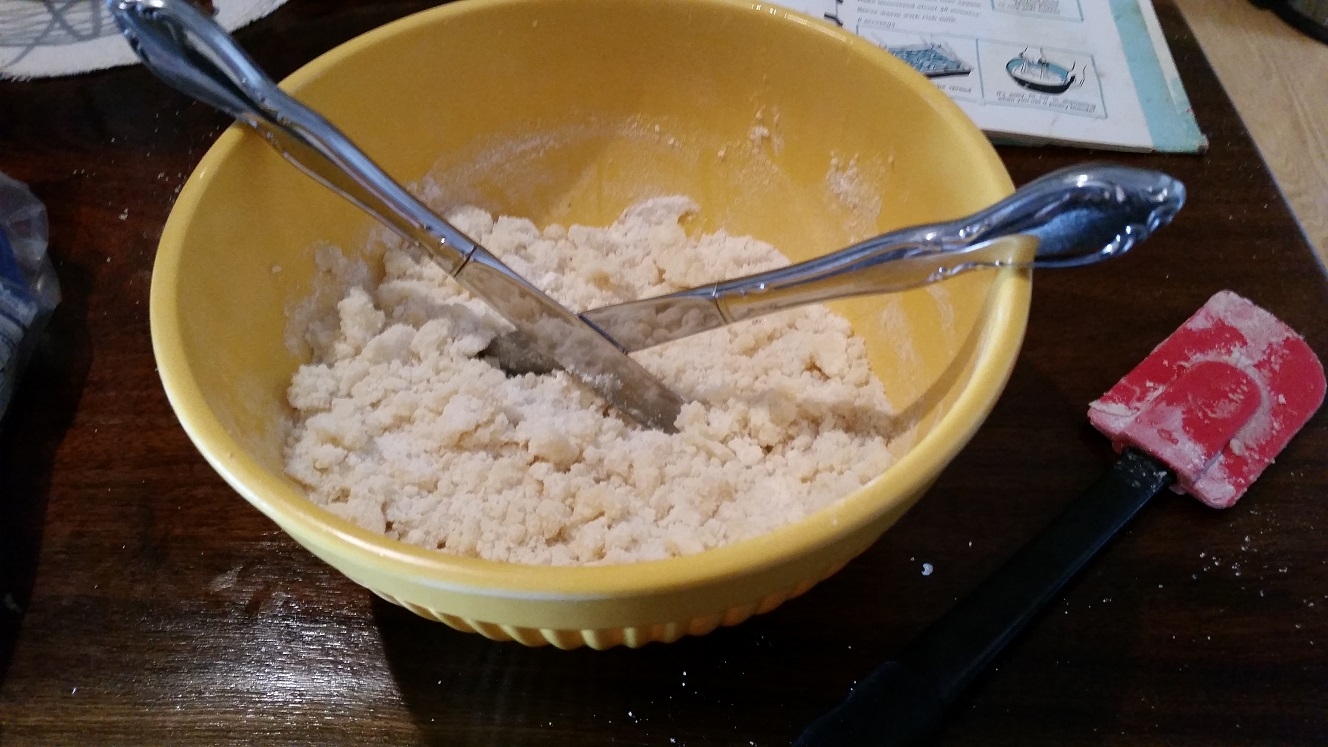
Normally you mash until you think you have mashed enough and then mash equally long again! Seriously! Keep mashing the cabbage. A good rule to know you are done is when you can press the cabbage into the bottom of the bowl or pot and it is covered by its own liquid. Or, about 5-10 minutes depending upon your vigor.
I have tried batches without much mashing and they just don’t seem to turn out as good.
It’s worth some experimentation and investigation on your own though so you can find your preferred consistency in the final probiotic sauerkraut!
Added Spices and Ingredients
Add the 2-3 teaspoons of salt. Also, add any extra ingredients you may have chosen. Mix it into the mashed cabbage thoroughly in preparation for the cabbage being added to the fermenter.
Fill the Fermenter

I use a funnel to minimize the mess. You also need to firmly tamp the cabbage into the jar. Don’t do it too hard, you will break the jar. A cabbage crusher is a great tool for this step too! You want to try and reduce the pockets of air bubbles in the jar. Read all about the probiotic sauerkraut tool in an article written specifically about Cabbage Crushers.
In the event the cabbage wasn’t mashed long enough, the cabbage in the jar won’t be covered in liquid. Add a 2% salt brine with filtered water to top it off. 1 teaspoon salt per cup of water is the ratio.
Place a weight or a specifically designed spacer in the jar. At least an inch of space between the cabbage and the lid is ideal. Make sure all the cabbage is covered in liquid.
Ferment!

Oops!
One major mistake most folks make is not fermenting long enough. There are multiple stages of growth of the live cultures we are creating in the fermenter. The acidity of the contents plays a large role in the life cycle of the fermentation culture. After about 10 days, the conditions of the ferment is only then reaching optimal. You should ferment for at least another couple of weeks. After about 10 days, move the sauerkraut to a location with a lower temperature. My best batches have fermented for 2 months, where the last month an a half, the probiotic sauerkraut was at about 60-65 degrees (cellar). I have had 10 day probiotic sauerkraut. Taste your batches. 10 day sauerkraut is a weak, simple, laughable product. The strong, complex, and amazing flavors from 30, 60, even 90 day ferments is worth the wait!

