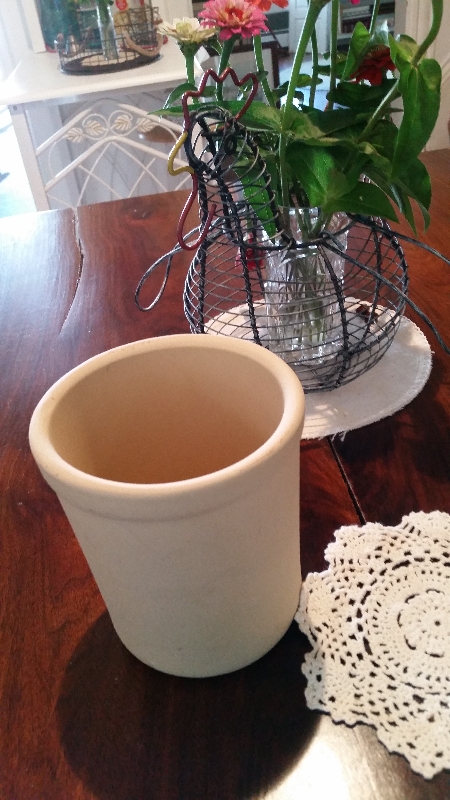
I never thought I would be doing any tin can baking. However, my neighbor had a table set up on the sidewalk giving away FREE stuff! I snatched up a cute crock and realized later that it was a “Pampered Chef Bread Baking Stoneware Crock”. (And I was just going to use it to display fall ‘weeds’!)
Although this specific baking crock is not easy to find, Le Creuset is an amazing company with amazing products. Their baking crock would be an upgrade:

View Details![]()
Another great dish for baking similar to a crock from Le Creuset:

View Details![]()
It’s a crisp fall feeling day today and I thought I may give bread baking a whirl. After searching ‘baking bread in a crock’ online, I came across a post at Heavenly Homemakers that sparked my interest. I learned that you can bake bread in a tin can!
This challenged me to do some experimenting in the kitchen. I decided to bake a quick bread (since I’ve NEVER made bread using yeast) and compare breads baked in my ‘new’ stone crock as well as that baked in an ‘old’ tin can.
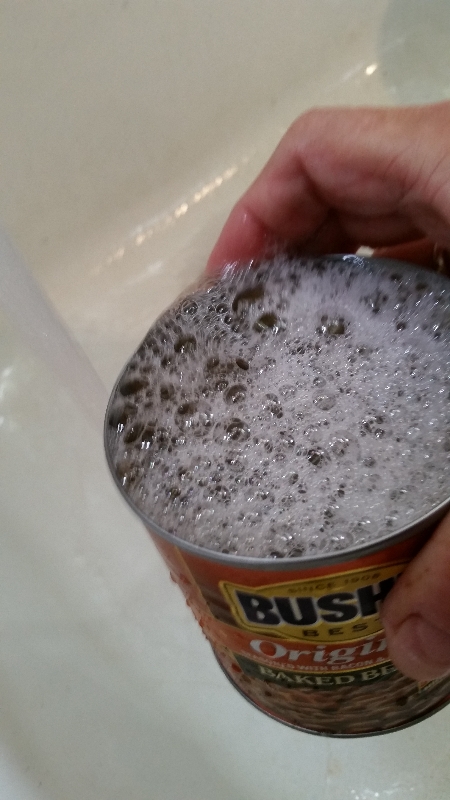
I DID have to dig in the garbage to retrieve an empty baked bean can, but after washing the can and peeling off the label, I was ready for tin can baking!
Attached to the article about the tin can baking was a recipe for “Grandma’s Brown Bread” so I opted to use it. The recipe is called Brown Bread because of the dark colored raisins that are an abundant ingredient in the bread.

Step one – After I washed the tin can and removed the label, I measured the raisins, sugar, baking soda, salt and butter into a mixing bowl and covered with very hot water. I allowed this mixture sit for about a half hour to make sure the raisins were soft and plumped. I am a bit ‘picky’ when it comes to baking with raisins so I always quickly examine the raisins and pick off any unwanted stems. I’m pretty sure the stems soften and you don’t even know you are eating stems, but I can’t get past ‘eating the stems’.

*Set your timer for 30 minutes and preheat the oven to 350 degrees while you are softening the raisins in the mixture.
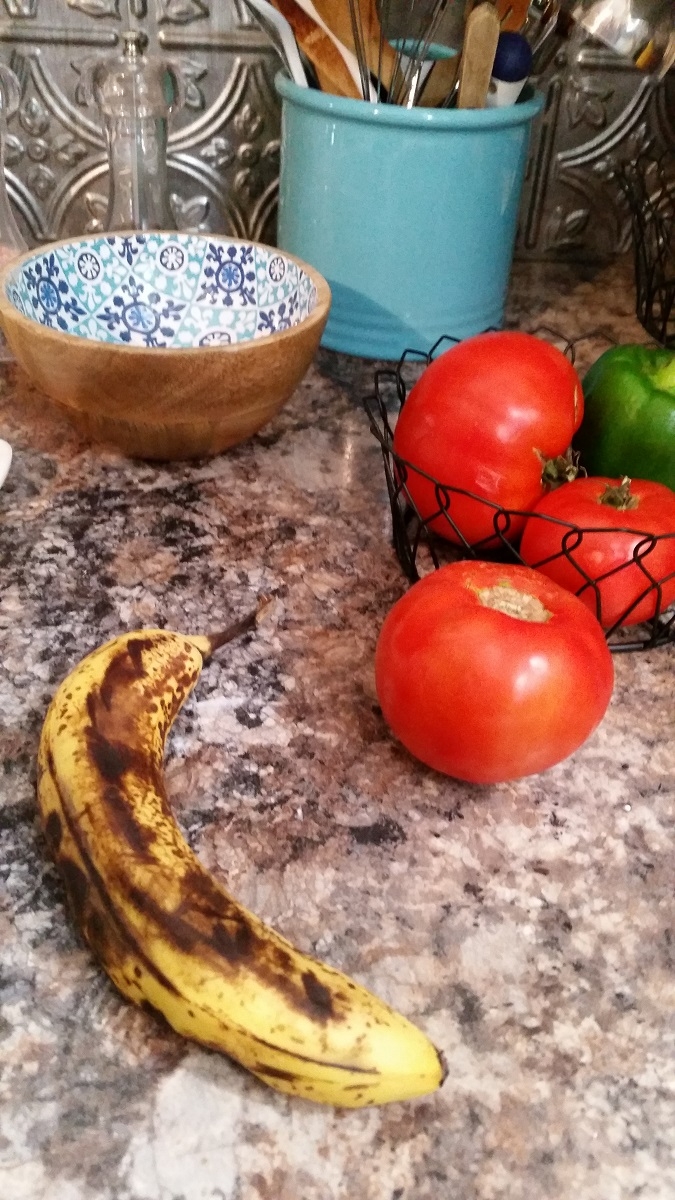
Step two was to add the flour, egg and nuts and stir well. I noticed a very ripe banana on my counter and decided to omit the nuts (because I didn’t have any) thus, I created my own version of brown bread!
|
|
|
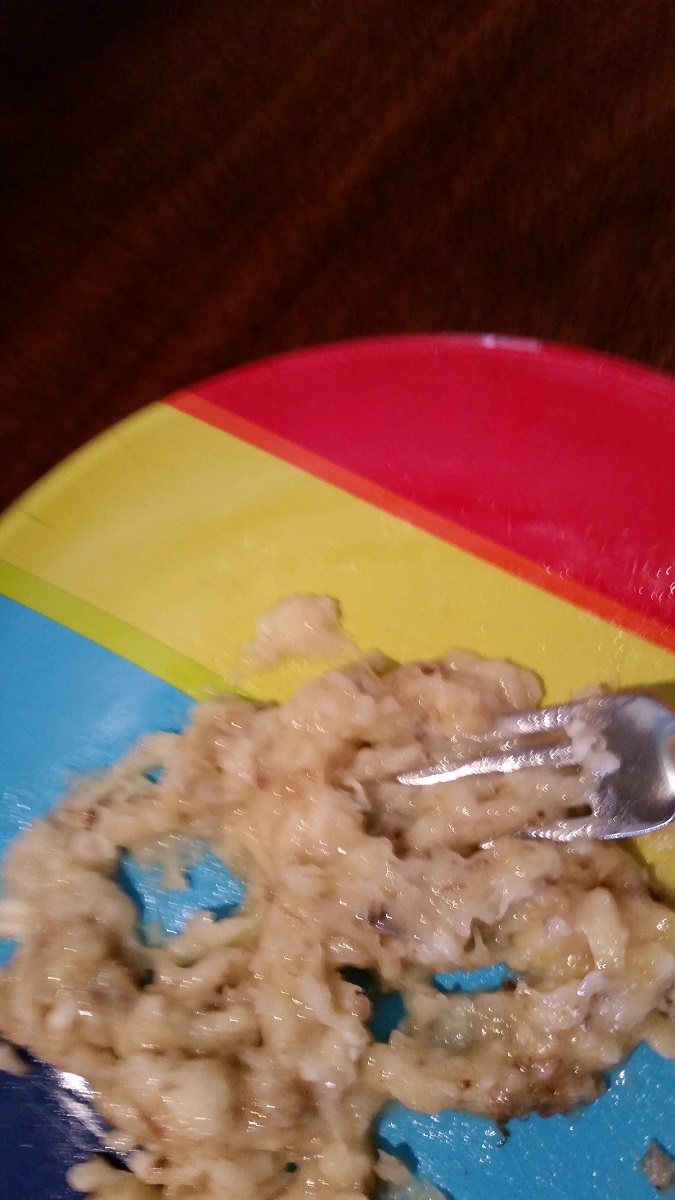
I mashed and added the very ripe banana to the mixture and called this “Brown Banana Bread”. I stirred all the ingredients well by hand.
*Hint – Using very ripe bananas are the secret to making a good banana bread or cake. The ripeness adds a flavor to the finished product that you just don’t get from a just ripe / white banana.
Step three – I sprayed the containers very generously with vegetable spray. You could coat the containers with butter or shortening but watch out for sharp edges in the can if you go this route.
Step four – I scooped the mixture (scooping from the bottom of the bowl to make sure you get raisins throughout the bread) into the containers. I filled each to about ¾ full. FYI – My batter, at this point, was rather runny, which is quite different from the zucchini bread that I recently made.
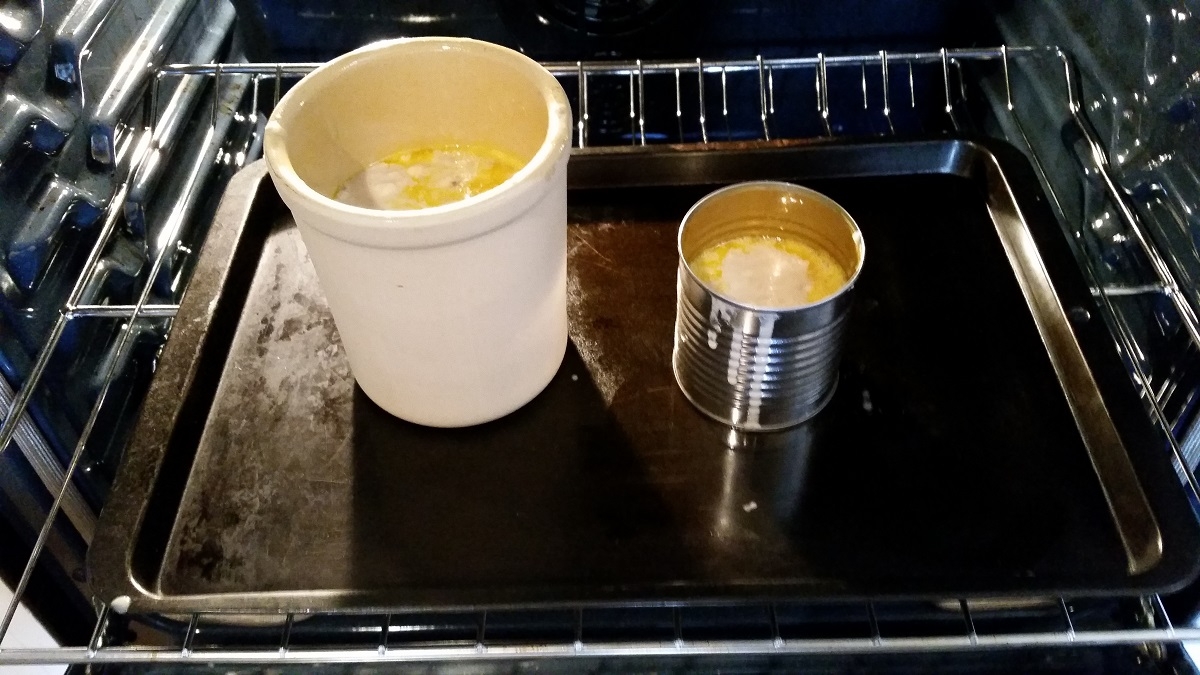
Step five – I placed the bread containers in the oven on a cookie/baking sheet. I didn’t want the bread to cook over and make a mess in the oven. Because I used a smaller can than suggested in the original recipe, I set the timer for 40 minutes, though the recipe called for 50 minutes. I wasn’t quite sure how long the bread in the crock would take to bake as I didn’t have a recipe for that so I just kept checking it after the tin can bread was finished baking.
Next, I waited! I learned from an award winning baker that an indication of ‘doneness’ is when the cake cooks away from the edge of the pan. I wasn’t sure if this same principle applies to bread so I just kept my eye on the process.

30 minutes…wasn’t quite there yet!
After 40 minutes of bake time, the bread in the tin can seemed to be done! I tested doneness using the toothpick method: Insert a toothpick into the center of the baked product and if it comes out clean, it is cooked through. I took the tin can bread out of the oven and reset the timer for an additional 10 minutes for the crock bread.
20 minutes later and the bread in the crock was also cooked through. Total cook time for the stoneware crock bread was 1 hour.
These breads needed to cool for about an hour before they could be removed from the can and crock.

After cooled to the touch, I simply ran a knife around the inside of each container, turned them upside down and tapped. Easily enough, both breads fell out and onto the prepared plate! I sliced the bread which was still a bit warm in the middle.
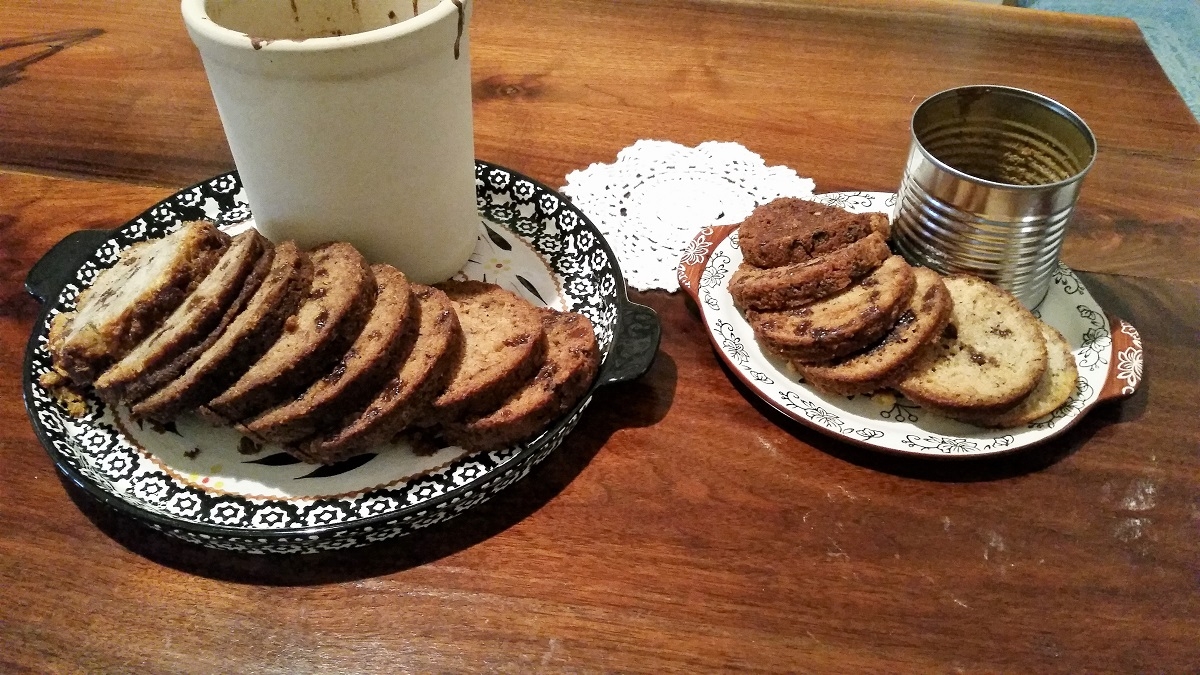
I can proudly report that both the tin can baking and the Pampered Chef Stone Crock produced round breads that were easy to remove, slice and clean up! Not much better than simply throwing away the baking container! Both breads tasted delicious and were fun and easy to make!
I think I made a good deal when I walked across the street to check my neighbors ‘free table’! I’ll be using my Pampered Chef Stoneware Crock in the future to make more breads! Here’s to all the wonderful treasures that can be reused and re-purposed, to the wise and fun process of re purposing and to those who share their treasures so others can enjoy!
Kid Friendly Alert: Tin can baking would be a fun activity to do with children. You could use the opportunity to share the history of The Great Depression, when this method of tin can baking was in its heyday.